

A 2025 McKinsey report emphasizes that digital and AI fluency is required for employees to remain competitive.
This article can help you develop logical thinking & setup execution when it comes to SSO.
You will gain experience breaking down a multi-step process - SSO setup - through Supabase which will improve your problem-solving and technical communication skills.

But first… Why Supabase?
Because Supabase simplifies SSO by handling the entire OAuth flow, user management, and secure session handling—all without writing backend code.
In one sentence: you’ll first set up OAuth in Google Cloud, then plug those credentials into Supabase by enabling the Google provider and boom… login with Google is live.
Step 1: Google Cloud Console
Go to Google Cloud Console console.cloud.google.com and create a new project.
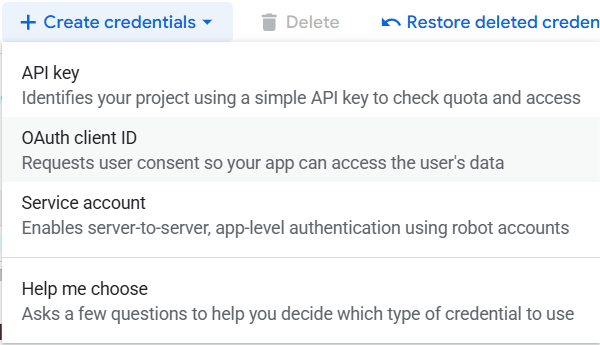
Set up OAuth Credentials 🔑: In the left menu, go to APIs & Services > Credentials.
Hit + CREATE CREDENTIALS and select OAuth Client ID.
~ If it’s your first time, Google will ask you to set up a "consent screen". If so, click "CONFIGURE CONSENT SCREEN" first and choose "External" user type.~
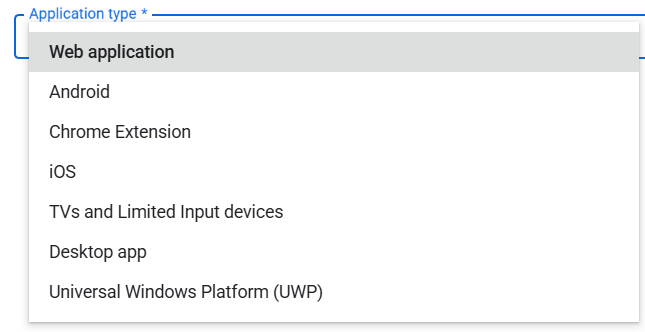
Create OAuth Client ID 🖥️
Choose Web application as the type.
Add your:
Authorized JavaScript Origins https://yourapp.com
💡 This tells Google: “Only allow login requests that start from this website.”
Redirect URIs https://djdjdjdjdj.supabase.co/auth/v1/callback (copy it from Supabase under: Authentication → Providers → Google)
💡 This tells Google: “After login, send the user here so Supabase can finish logging them in.”
Step 2: Supabase Configuration
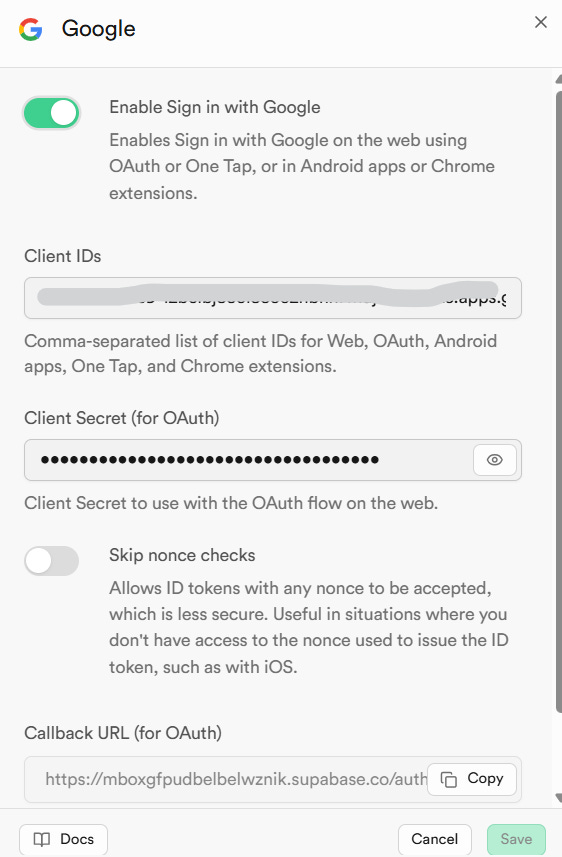
Go to Authentication → Providers → Google
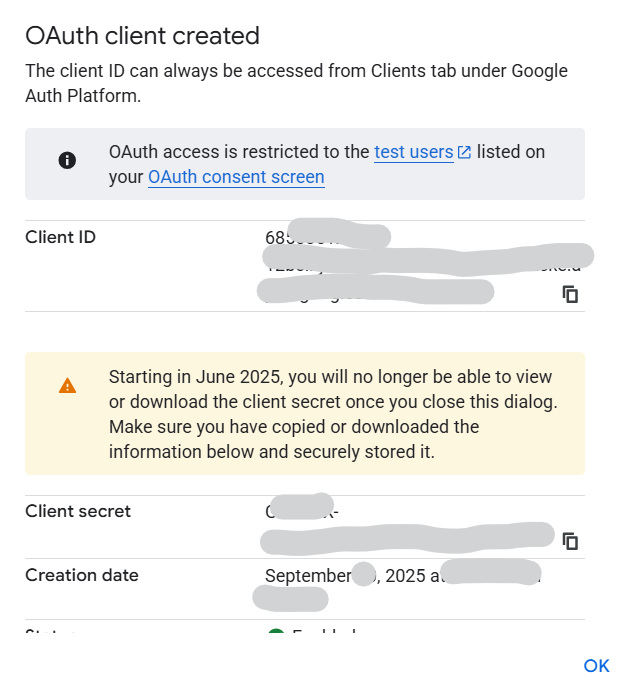
Paste the generated credentials (Client ID & Secret) from step 1 within Supabase in the providers section.
This links Supabase to Google’s OAuth system, so Google knows your app is allowed to authenticate users and exchange login info securely.
Configure URLs for app.
Go to Authentication → URL Configuration and set:
Site URL: https://your-app.com
This tells Supabase where to redirect users after login)
Redirect URLs: Add https://your-app.com/**
This allows redirects to any path in your app — like /dashboard, /account, etc.
URL configuration tells Supabase where to send users after they log in with Google otherwise.
Authentication flow - Summary:
User clicks "Sign in with Google" through your app
Then they're sent to Google's login page to verify their identity.
Google needs to know where to send them so… → you tell Google: “When you're done, send them to this (callback) address: ”
That URL is Supabase's "login inbox". It catches the user coming back from Google, verifies the login, and signs them in on your app.
Good job, well written.